Share
Pin
Tweet
Send
Share
Send
To make a money tree picture you will need: a picture frame, hard cardboard (you can use a large notebook), burlap to fit the picture, any suitable material to sew up the inside of the picture, paper napkins, coins, dark shoe spray, varnish, glue gun , iron, scissors.
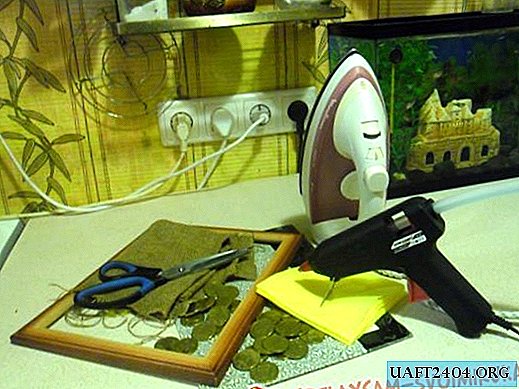
First, cut the cardboard so that it fits freely into the frame. It is necessary to give small gaps on the fabric. The burlap must be ironed and glued onto the cardboard with a glue gun. Lay and glue the edges of the burlap on the back.


Take the fabric for the inside and gently glue the other side of the picture. Next, check whether the picture is in the frame. The basis for the picture is ready.


Napkins cut into two and four parts. Twist them into thin flagella and form a tree with branches on the canvas. Glue the flagella with glue gun.


Then came the turn to stick coins on the picture. It is necessary to glue the coins near the branches and the trunk, forming a magnificent crown. To make the tree look spectacular, it’s worth sticking some more coins near the roots of the tree, like fallen leaves.

To darken the picture and give it the final look, it is necessary to paint the coins in a dark color with a shoe spray. This is best done outdoors. The paint on the coins dries up for 20-30 minutes.


After this, the coins should be opened with varnish. You can take a regular small bottle of colorless nail polish. After the procedure, the bubble will have to be thrown away, since the brush gets dirty in black paint and the varnish will no longer be suitable for further use. On several coins, with a brush, you can rub a little harder so that a golden glow is visible. Let the varnish dry.

Insert the picture into the frame, fix it with hot glue. That's the whole picture the money tree is ready.

Share
Pin
Tweet
Send
Share
Send


