Share
Pin
Tweet
Send
Share
Send
So, for work we need:
1. Unnecessary pareo or piece of tissue.
2. Threads in tone.
3. Scissors.
4. Pins.
5. Centimeter tape.
6. Sewing machine.
7. Summer mood and 15 minutes of free time.
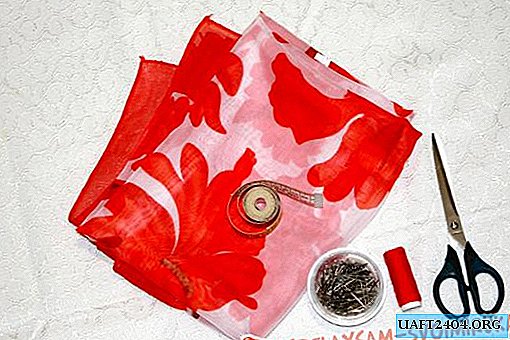
The dimensions of my pareo are 146x98cm. My size is M. I think this tunic is suitable for girls with sizes from S to L.
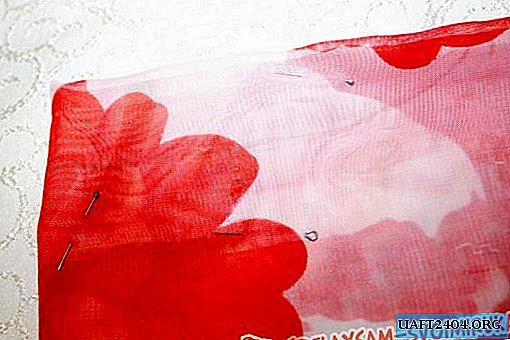
The first thing we need to do is fold the fabric with the edges already processed in half. As a result, we get the canvas 73x98cm. Pins off around the perimeter.

At the bend in the center, we pin off the supposed neckline with pins.

Fold again in half so that we get a canvas 73x49cm.

From the bend we will measure the neckline.

From the left corner on the upper edge we measure 14 cm. From the top edge down we measure 3 cm. We draw a smooth line. This is the neckline from the back.
We do the same, but measure it down not 3cm from the top edge, but 6cm (or 3cm from the neckline of the back). We draw a smooth line. This is the front neckline.

Cut out.

Further along the front, we need to note the line for the sleeves. To do this, fold the canvas as it was originally folded 73x98cm. On the front part we measure from the right and left edges 20cm. We draw a straight line 48 cm long in the direction of the top of the product. I just chopped pins. On these lines you will need to lay two even lines.

I offer a primitive pattern with designations in centimeters. Sorry for the quality, the pattern is whipped up for clarity. Red dashed lines indicate the cut lines. Blue dashed lines of lines.

It remains for us to process the neck on a typewriter. We bend the cut, scribble.

Now we draw a line along the blue dashed line on the right and left sides. Lay lines on the front!

We iron and go to the beach! Our airy beach tunic is ready!

Share
Pin
Tweet
Send
Share
Send

