Share
Pin
Tweet
Send
Share
Send
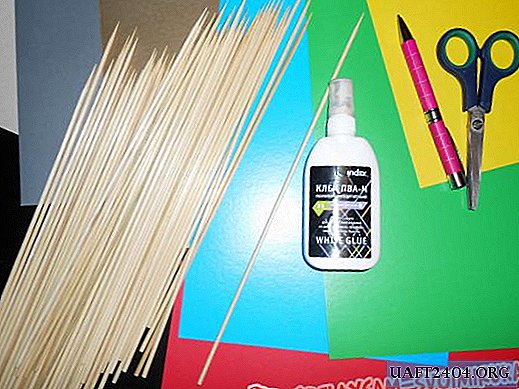
At the very beginning, you need to prepare all the materials. For the panel we need:
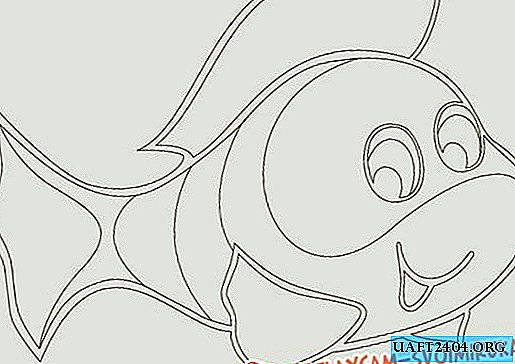
- stencil (photo "stencil");
- colored paper;
- a sheet of thick cardboard;
- scissors;
- glue;
- a simple pencil. Master class.
We begin by cutting the stencil and gluing it onto a sheet of thick cardboard.
![](http://img.uaft2404.org/img/sdela-2019/ribka-nemo-v-tehnike-torcevanie.jpg)
Then, cut rectangles or squares of the same size. Crumple the resulting workpieces with a pencil and only after that we begin to stick on the paper in the direction from the tail to the head, placing them as tightly as possible to each other.
![](http://img.uaft2404.org/img/sdela-2019/ribka-nemo-v-tehnike-torcevanie-2.jpg)
![](http://img.uaft2404.org/img/sdela-2019/ribka-nemo-v-tehnike-torcevanie-3.jpg)
![](http://img.uaft2404.org/img/sdela-2019/ribka-nemo-v-tehnike-torcevanie-4.jpg)
![](http://img.uaft2404.org/img/sdela-2019/ribka-nemo-v-tehnike-torcevanie-5.jpg)
![](http://img.uaft2404.org/img/sdela-2019/ribka-nemo-v-tehnike-torcevanie-6.jpg)
![](http://img.uaft2404.org/img/sdela-2019/ribka-nemo-v-tehnike-torcevanie-7.jpg)
![](http://img.uaft2404.org/img/sdela-2019/ribka-nemo-v-tehnike-torcevanie-8.jpg)
The fearless and brave hero of your favorite cartoon is ready!
![](http://img.uaft2404.org/img/sdela-2019/ribka-nemo-v-tehnike-torcevanie-9.jpg)
![](http://img.uaft2404.org/img/sdela-2019/ribka-nemo-v-tehnike-torcevanie-10.jpg)
![](http://img.uaft2404.org/img/sdela-2019/ribka-nemo-v-tehnike-torcevanie-11.jpg)
The panel can be placed in a frame for photographs and decorate it with a nursery.
Share
Pin
Tweet
Send
Share
Send